IoT Cellular Connectivity on Raspberry Pi and Linux Devices – A Beginner’s Guide
When getting started with IoT, a lot of people begin with a look into Raspberry Pi or a Linux-capable device such as, for example, Orange Pi, Beaglebone, or Intel Edison.

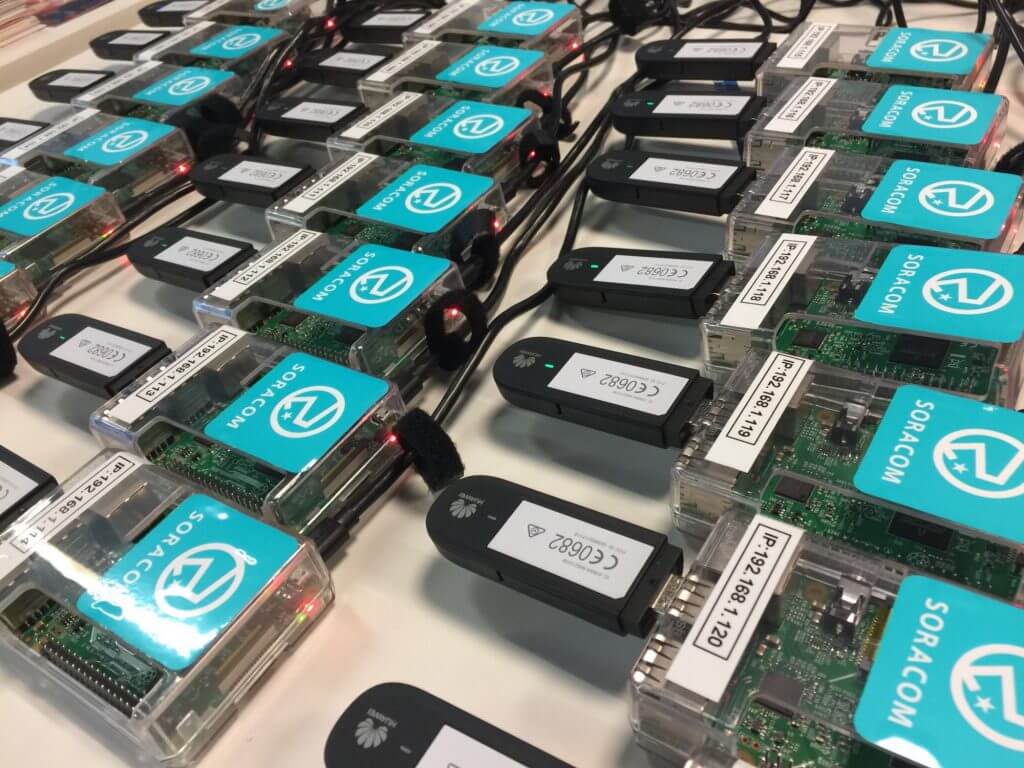
Raspberry Pi using Cellular Dongles
After the initial prototyping phase, it can be very good to add an un-tethered connection to your Linux-capable device. However, configuring these devices to use Cellular connectivity can be challenging.
Secure IoT SIM cards such as the ones we have at Soracom (FR UK DE IT US JP) can be a great solution. Thanks to advancements in OpenSource software and the good collaborative work I had the chance to do with the teams at Enerbrain, resin.io and Soracom, we now have good and straightforward solutions to make it all work nicely.

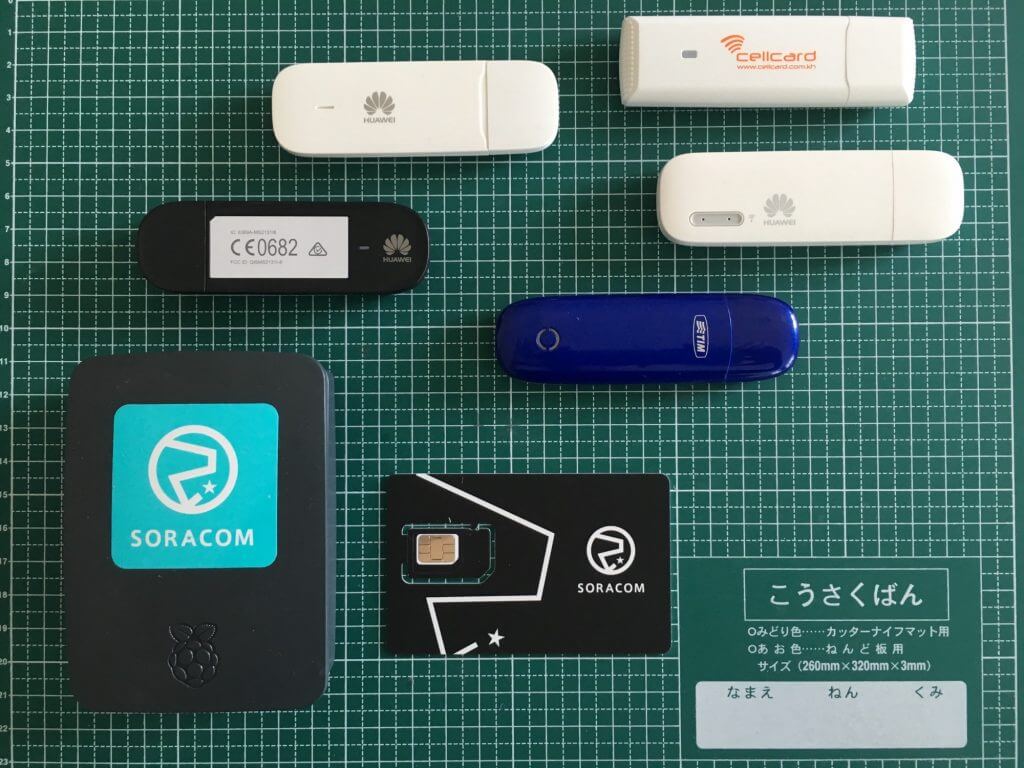
Testing different Cellular Dongles with Soracom Air
A second type of Dongle, such as th Huawei HiLink, incorporates its own network functionality. This type of dongle may seem as though it should be easier to set up, but can present couple of new challenges:
- Dongle configuration is manual and therefore susceptible to mistakes and difficult to scale for more than couple of devices
- As these Dongles run small MCUs, they aren’t designed to run 24/7 and tend to require regular power reset
- A lot of these do not have NAT functionality which means they do not allow you to connect back to your device
Today we’ll focus on setting up a “modem-mode” USB Dongle. Throughout our testing, the Huawei MS2131 Dongle (this is not an endorsement) has been the most reliable one we’ve experienced so far and it has thus become our current reference dongle. The steps below are demonstrated on MS2131 but will also work with other modem type of Dongles.
These step-by-step instructions use a Raspberry Pi but will work on most Linux distributions and devices that support network-manager:
1. If you haven’t done so already, download and install Raspbian OS, we recommend Jessie Lite version as it’s stable and well supported
2. Log into your Raspberry Pi and install network-manager package
pi@raspberrypi:~ $ sudo apt-get update && sudo apt-get install network-manager
3. Once Network Manager has been installed, create the 3G Dongle connection
pi@raspberrypi:~ $ sudo nmcli con add type gsm ifname "*" con-name soracom apn soracom.io user sora password sora
4. Reboot the Pi
pi@raspberrypi:~ $ sudo reboot
5. Once the Pi has rebooted, plug in your USB Dongle and you should get a ppp0 interface. (This is your Cellular connection)
pi@raspberrypi:~ $ ifconfig ppp0
ppp0 Link encap:Point-to-Point Protocol
inet addr:10.237.184.147 P-t-P:10.64.64.64 Mask:255.255.255.255
UP POINTOPOINT RUNNING NOARP MULTICAST MTU:1500 Metric:1
RX packets:7 errors:0 dropped:0 overruns:0 frame:0
TX packets:9 errors:0 dropped:0 overruns:0 carrier:0
collisions:0 txqueuelen:3
RX bytes:106 (106.0 B) TX bytes:171 (171.0 B)
Your Pi is now connected to the cellular network and will automatically connect each time a Dongle is plugged in or Linux restarted. It will also automatically reconnect in case the connection drops for any reason (for example, if a device moves temporarily out of range of a mobile network).
One thing to note is that by default, Cellular connection has lower priority than WiFi or Ethernet. This could potentially affect your ability to access your device remotely. To solve this we update the default route metric by creating a Network Manager script:
6. Download and install Soracom ppp route metric script
pi@raspberrypi:~ $ sudo curl -o /etc/NetworkManager/dispatcher.d/90.set_ppp_route_metric https://soracom-files.s3.amazonaws.com/handson/90.set_ppp_route_metric
7. Make sure it is executable
pi@raspberrypi:~ $ sudo chmod +x /etc/NetworkManager/dispatcher.d/90.set_ppp_route_metric
8. This new script will run everytime you reconnect a Dongle or reboot your pi, with it, you’ll be able to connect to it via Ethernet or Wifi while at the same time use Cellular as your default connectivity. Run it manually or otherwise reboot to activate it
pi@raspberrypi:~ $ sudo /etc/NetworkManager/dispatcher.d/90.set_ppp_route_metric ppp0 up
Should you wish to connect a ResinOS based device, you can head over to the following blog post on resin.io blog. We’ve also done work with Ofono on LEGO EV3 Linux, you can learn more about it here
Coming months we’ll be running Hands-on workshops accross Europe and United States, be sure to follow us on your prefered social networks to get notified of locations as well as when we’re posting various IoT tutorials
Twitter: @alexis_susset and @SoracomGlobal
LinkedIn: Soracom
Facebook: Soracom
Bay Area MeetUp: Soracom SV-IoT
You can also reach out to us with any questions via our contact form!
MORE LIKE THIS


What is Soracom?
Discover why technology innovators choose Soracom for connecting their
devices to the cloud over cellular.

Soracom's Picks
Advices and interviews, to inform and inspire.

IoT Connectivity for Construction Sites: Fiber vs. Satellite vs. Cellular (4G/5G)
The Site Manager’s Dilemma: Speed vs. Stability vs. Security When…

Why Network-Agnostic Connectivity is the Lifeblood of Physical AI
In the world of enterprise IoT, we are witnessing a…

Beyond the Chatbot: Exploring the Future of “Physical AI” at AWS re:Invent 2025
Note: This article is based on a report from Tech…


Champion in IoT
Connectivity Management
Soracom Named as a Champion for IoT Connectivity Management in 2023 Kaleido Intelligence Connectivity Vendor Hub


